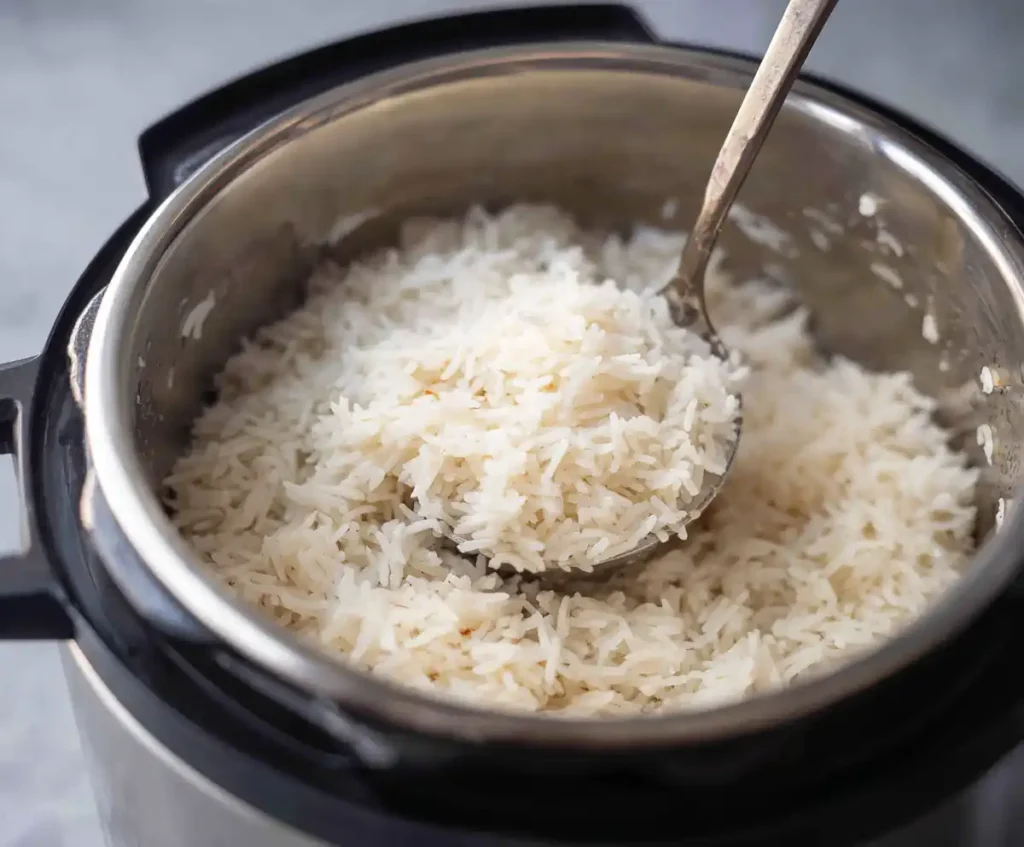
Rice is one of those things I cook almost every week — but I’ll admit, it took me a while to get it just right. Stovetop rice always felt like a gamble: sometimes too mushy, sometimes undercooked. Then I tried making Instant Pot Rice, and everything changed. With a press of a button, I get perfectly fluffy rice every single time.
If you’re building up your Instant Pot recipes, this is one you’ll come back to again and again. I often serve it alongside hearty dishes like my Slow Cooker Pot Roast, and it makes weeknight dinners so much easier.

What You’ll Need
The beauty of this recipe is its simplicity. Just a few basics and you’re set:
- Rice – I usually make white long-grain or basmati. Each cooks slightly differently, but the Instant Pot handles them well.
- Water or broth – For extra flavor, use chicken or veggie broth instead of plain water.
- Salt – Just a pinch helps bring out the flavor.
- Oil or butter (optional) – Keeps the rice from sticking and adds richness.
- Instant Pot – Of course! I use my 6-quart model.
When I make rice to go with soup, like my Pressure Cooker Chicken Soup, I’ll often use broth to give it more depth.
Step-by-Step Guide to Instant Pot Rice
The Instant Pot does most of the work for you, but these little steps make a big difference. I’ve learned through trial and error (and a few sticky pots of rice) that these details matter!
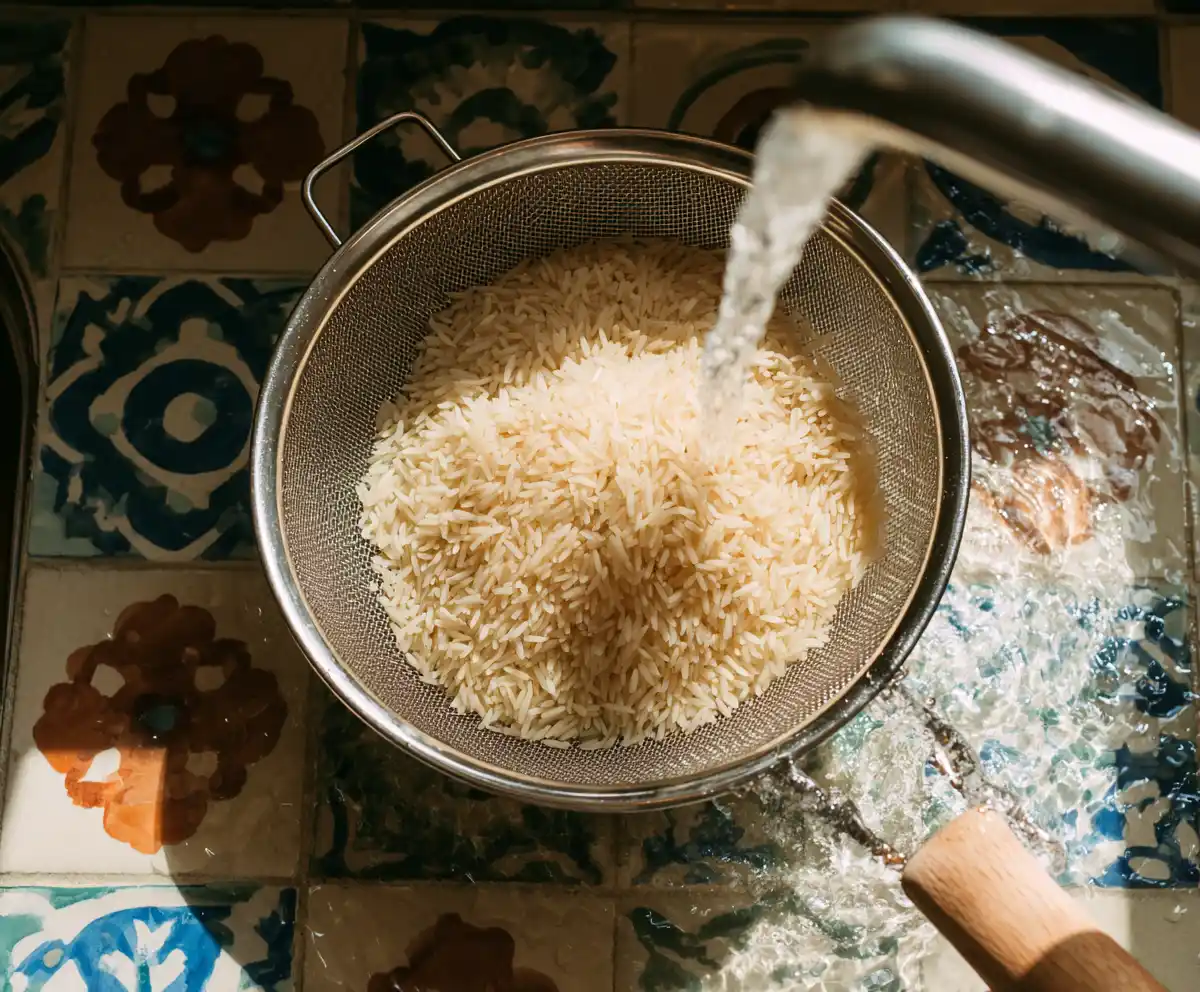
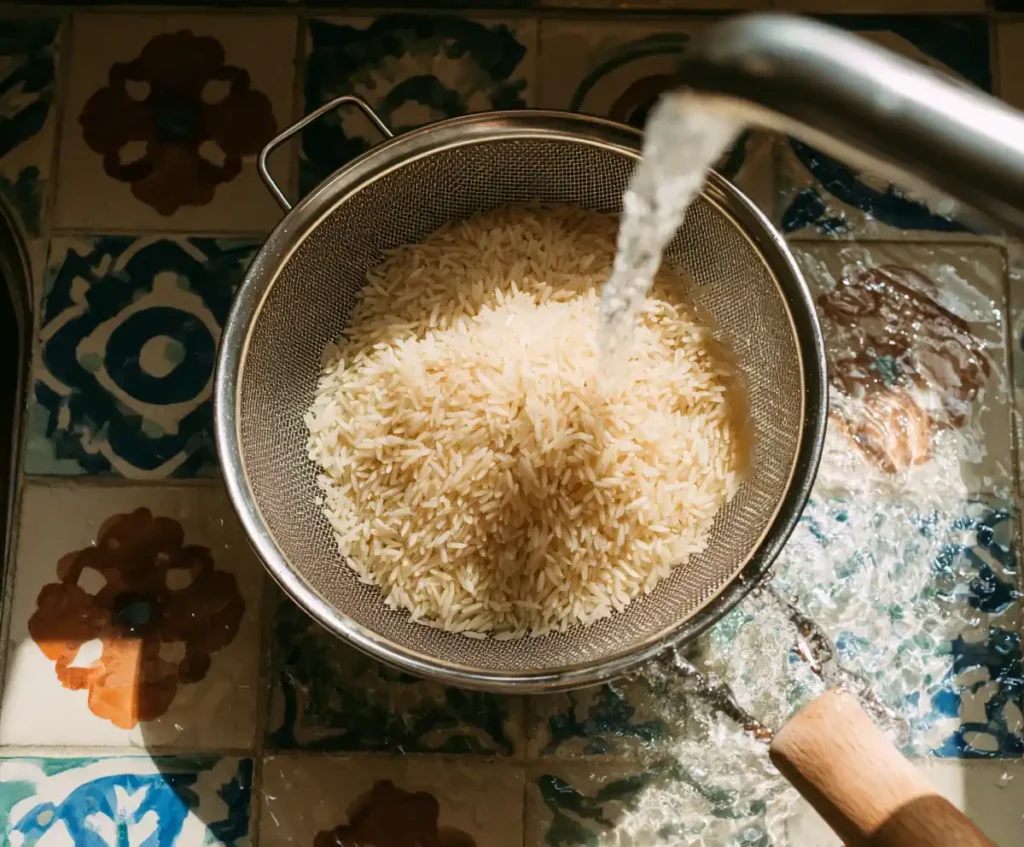
Step 1 — Rinse the Rice
Rinse your rice under cold water until the water runs clear. This removes excess starch so the rice doesn’t clump. I used to skip this, but it really helps with fluffy texture.
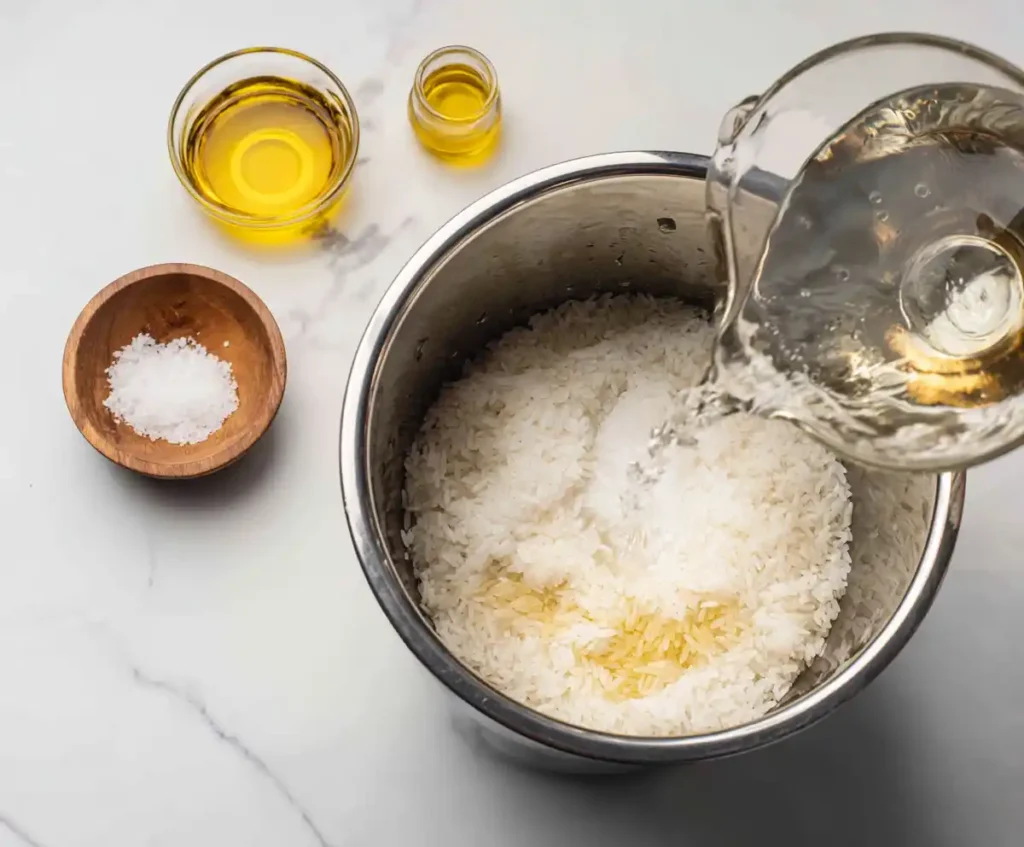
Step 2 — Measure and Add to the Pot
Add rice and water to the Instant Pot in a 1:1 ratio. For every cup of rice, use one cup of water. Add salt and a touch of oil if you like.
Step 3 — Set the Cooking Time
Close the lid, seal the valve, and set your Instant Pot to High Pressure for:
- 3 minutes for white rice
- 5 minutes for basmati
- 20–22 minutes for brown rice
I love how easy it is compared to fussing with the stovetop.
Step 4 — Natural Release
Once the cooking time is up, let the pressure release naturally for 10 minutes. This helps the grains finish steaming. Then quick-release any remaining pressure.
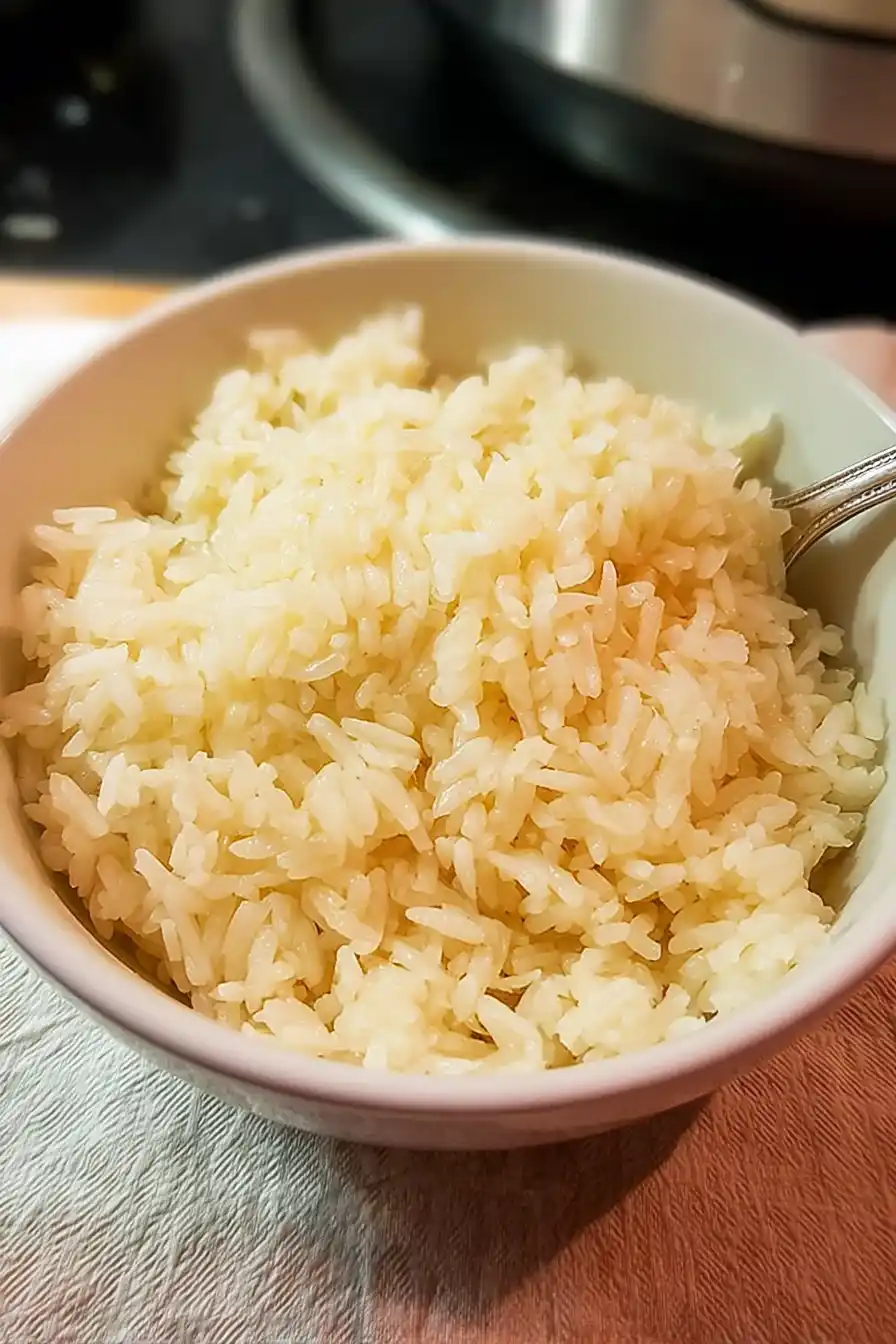
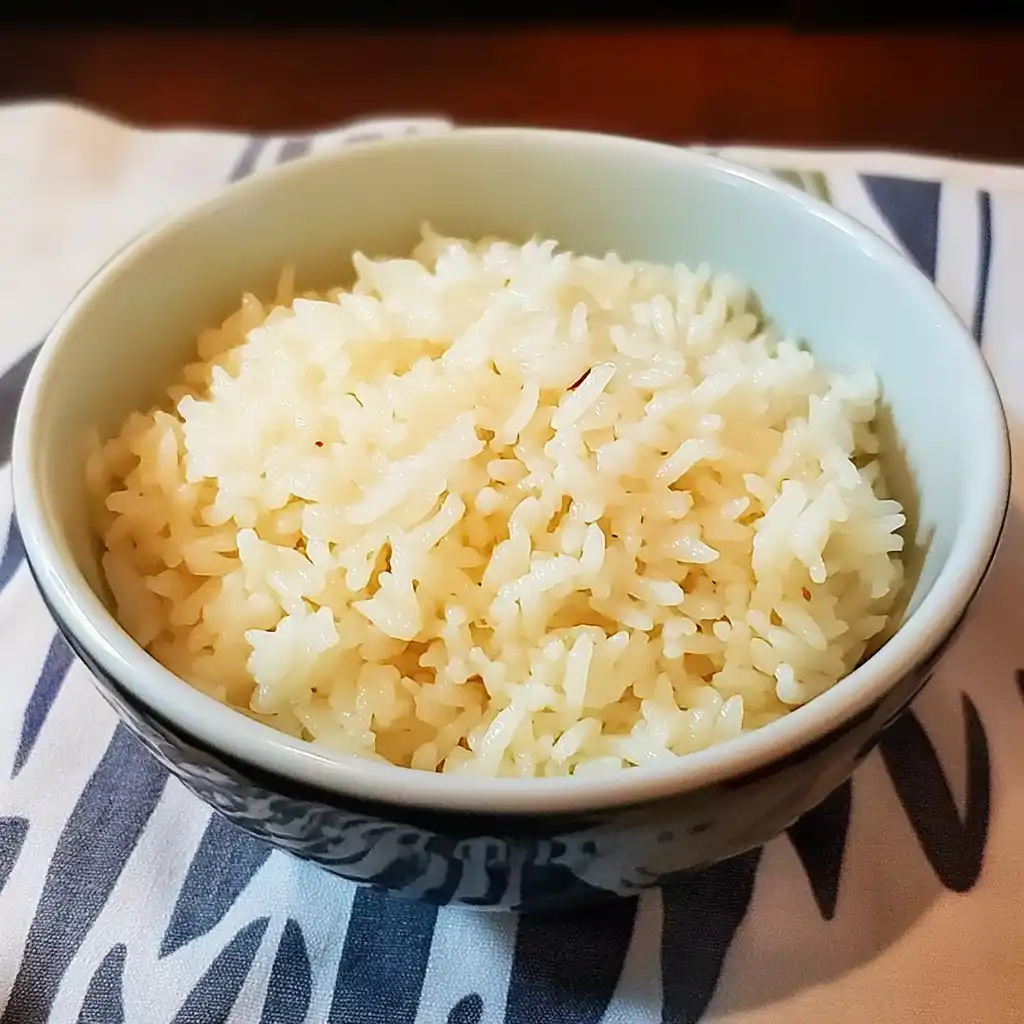
Step 5 — Fluff and Serve
Use a fork to gently fluff the rice. That little step keeps it light instead of clumpy. I often make a double batch and save leftovers to serve with Air Fryer Brussels Sprouts.
Pro Tips & Easy Swaps
- Rinse rice well — it’s worth the extra 30 seconds.
- Swap water for broth for more flavor.
- Add a bay leaf or garlic clove for gentle aromatics.
- Double or triple the recipe, just keep the 1:1 ratio.
- Store cooled rice in an airtight container up to 4 days.
- Reheat with a splash of water to restore moisture.
- For sticky rice, reduce water slightly (just under 1 cup per cup of rice).
- Add a teaspoon of butter or olive oil for richer taste.
Serving Ideas & Variations
Rice goes with almost anything, which is why I love making big batches. I often serve it:
- With stir-fried veggies and soy sauce for a quick bowl.
- Alongside grilled chicken or fish.
- As the base for curry or stew.
- With beans for a simple, hearty meal.
- Topped with a fried egg for an easy lunch.
- Mixed with herbs (like cilantro or parsley) for freshness.
- Tossed with butter and parmesan for my kids (they devour it!).
Common Mistakes (and How to Fix Them)
- Rice too mushy? Too much water. Stick to the 1:1 ratio.
- Rice undercooked? Not enough time or skipped the natural release.
- Rice sticking to the bottom? Add a little oil or butter before cooking.
- Rice clumpy? Didn’t rinse — next time, give it a good wash.
Frequently Asked Questions
Yes! Just keep the 1:1 ratio of rice to water. The cooking time stays exactly the same.
I prefer using the manual pressure cook setting for more control. The rice button works, but cooking times can vary depending on your Instant Pot model.
No soaking is needed for white rice. For brown rice or basmati, a quick 15-minute soak can improve the texture, but it’s optional.
Cool the rice quickly, then store it in an airtight container in the fridge. Eat it within 4 days for best safety and freshness.
You’ll Also Love
If you’re enjoying this Instant Pot staple, try these next:
- Instant Pot Mac and Cheese — creamy, comforting, and kid-approved.
- Instant Pot Chili — perfect with a scoop of fluffy rice.
- Instant Pot Beef Stew — hearty and cozy for cold nights.
And don’t forget to check out all my Instant Pot recipes for more family favorites.
Instant Pot Rice
Ingredients
Method
- Rinse rice under cold water until water runs clear.

- Add rice, water, salt, and oil to Instant Pot.

- Close lid, seal valve, and cook on High Pressure:
- 3 minutes white rice
- 5 minutes basmati
- 20 minutes brown rice
- Let pressure release naturally for 10 minutes.
- Fluff with fork and serve warm.