When I first started using my pressure cooker, I didn’t realize just how quickly it could turn a tough cut of pork into the most tender, juicy pulled pork. This Pressure Cooker Pulled Pork Sandwich is one of those recipes that feels like a slow Sunday BBQ, but comes together in under an hour. It’s my go-to when I want something hearty, saucy, and family-friendly without babysitting the stove. My kids love piling their sandwiches high, and I usually sneak a few bites straight from the pot before serving. If you love cozy dishes like Pressure Cooker Chili, you’ll fall hard for this one.
What You’ll Need
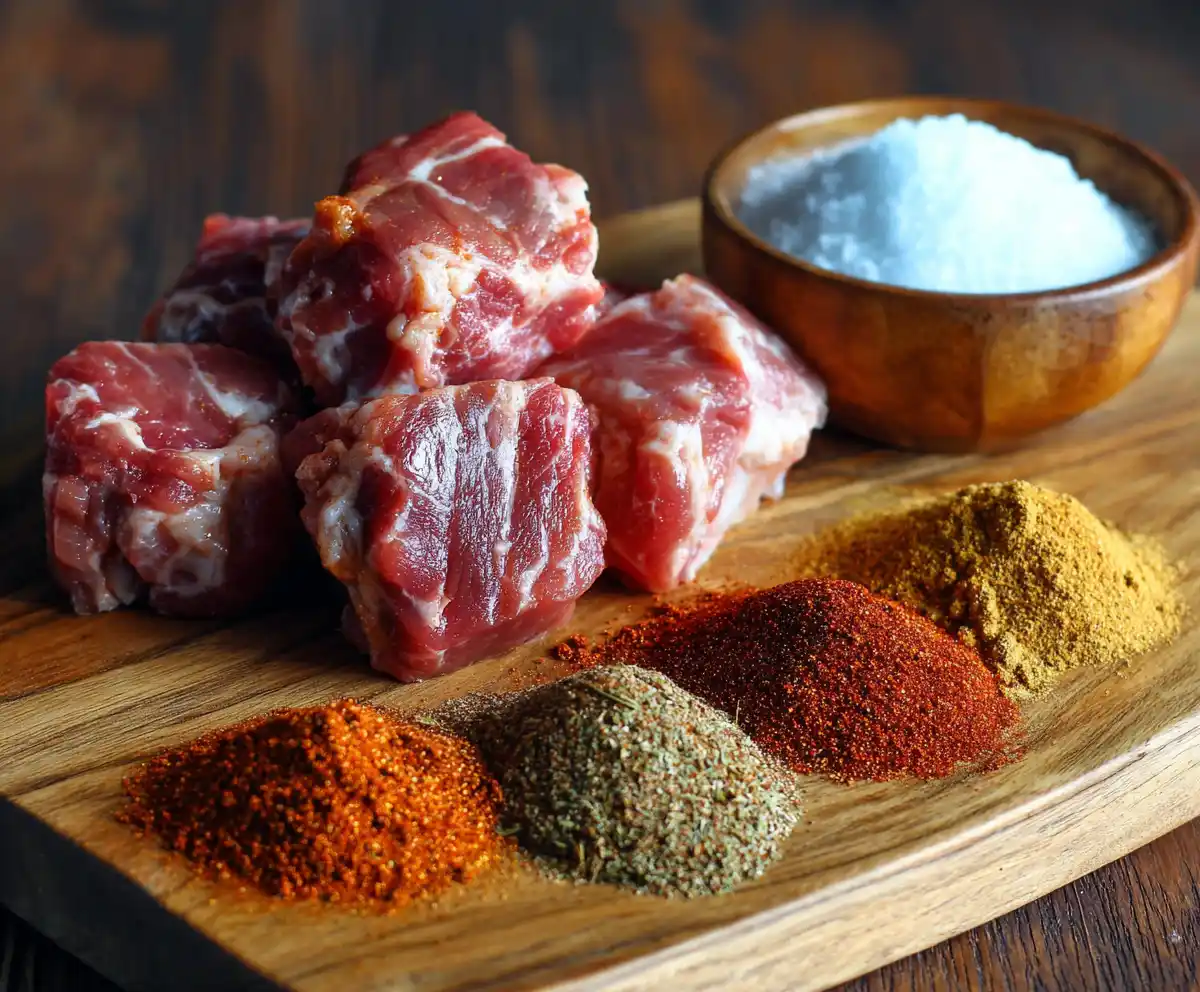
Here’s everything you need to whip up this comforting sandwich at home.
- Pork shoulder (pork butt) – I prefer a marbled cut because the fat keeps the meat juicy.
- BBQ sauce – Use your favorite store-bought or homemade. I go with smoky-sweet flavors.
- Onion & garlic – Fresh adds depth; I never skip garlic here.
- Apple cider vinegar – Helps balance the richness.
- Brown sugar – Adds a hint of caramel sweetness.
- Spices – Paprika, cumin, chili powder, salt, pepper.
- Sandwich buns – Soft rolls soak up the juices beautifully.
- Shredded cabbage – For crunch and freshness.
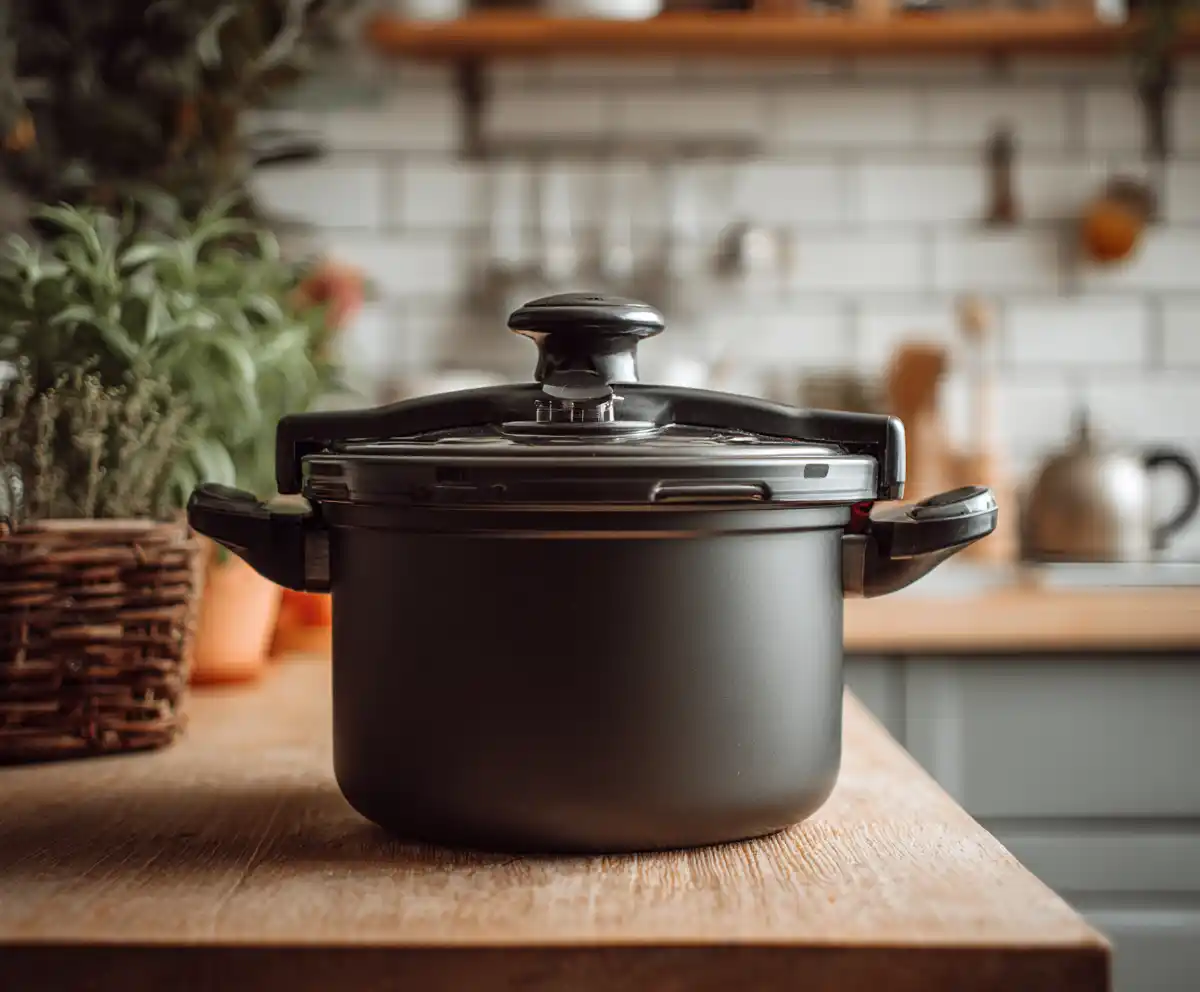
- Pressure cooker/Instant Pot – Of course, the star tool here.
When I tested this against my Slow Cooker Chicken Tacos, the pressure cooker definitely won for speed!
Step-by-Step Guide to Pressure Cooker Pulled Pork Sandwich
I promise, once you try it this way, you’ll never go back. It’s that easy. Just like Instant Pot Mac and Cheese, this is pure comfort made faster.
Step 1 — Season the Pork
Cut the pork shoulder into large chunks, then rub generously with your spice mix. I like to massage it in with my hands — messy but worth it.

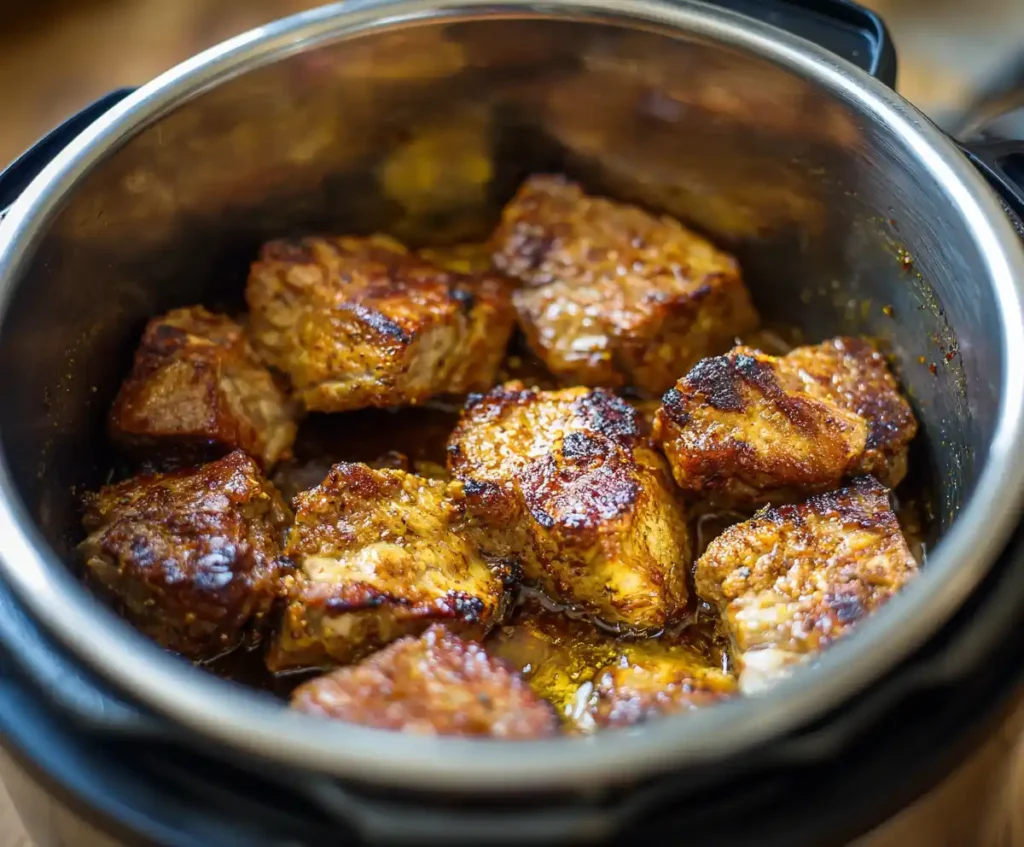
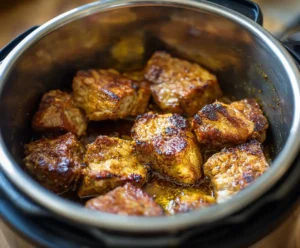
Step 2 — Sear for Flavor
Set your pressure cooker to sauté and brown the pork on all sides. This step builds a smoky, deep flavor in the final dish.
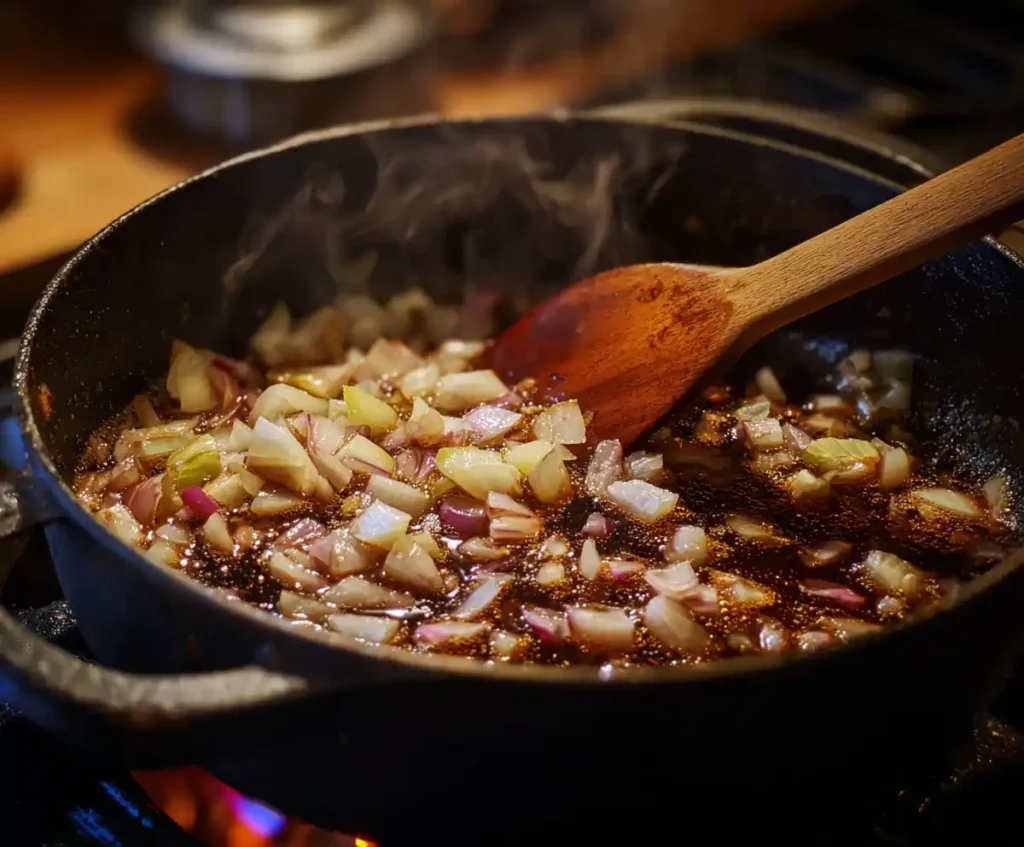
Step 3 — Add Aromatics & Liquid
Toss in onions and garlic, then deglaze with apple cider vinegar. Scrape up the browned bits (they’re flavor gold!). Add a splash of broth or water and half your BBQ sauce.
Step 4 — Pressure Cook
Seal the lid and cook on high pressure for about 45 minutes. Let it naturally release for 10–15 minutes.
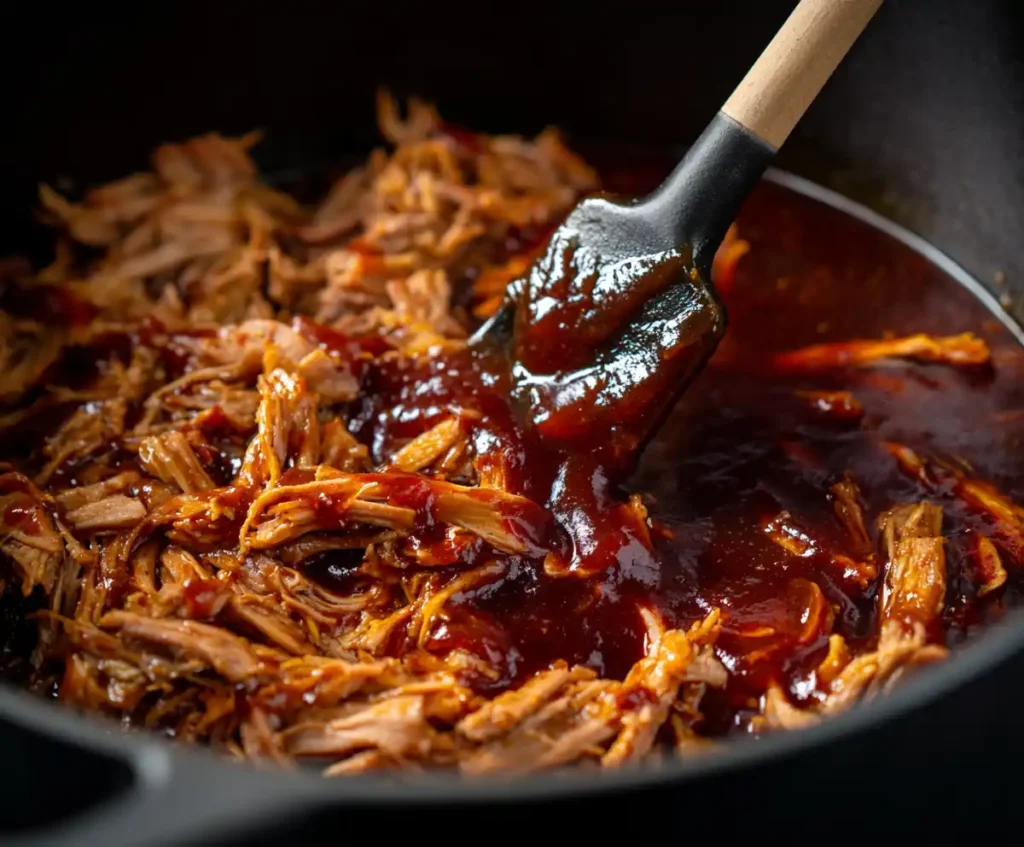
Step 5 — Shred & Sauce
Shred the pork with two forks right in the pot. Stir in more BBQ sauce to taste.
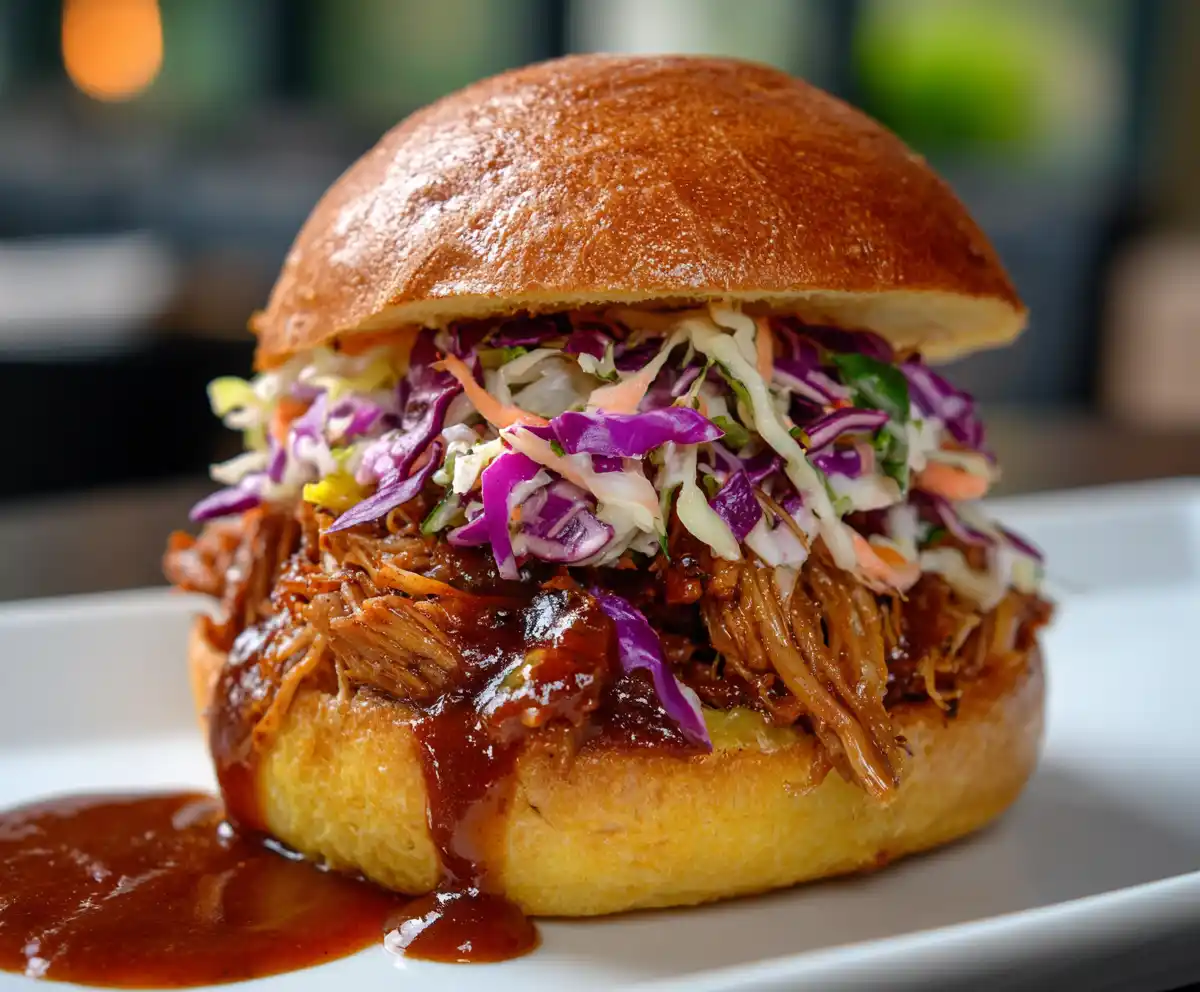
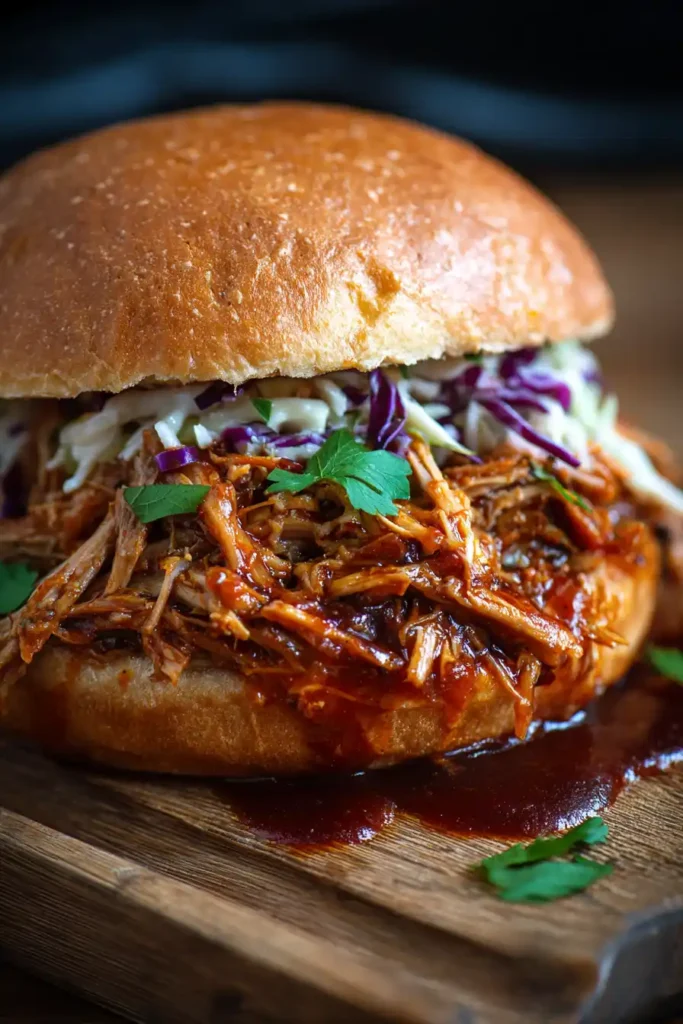
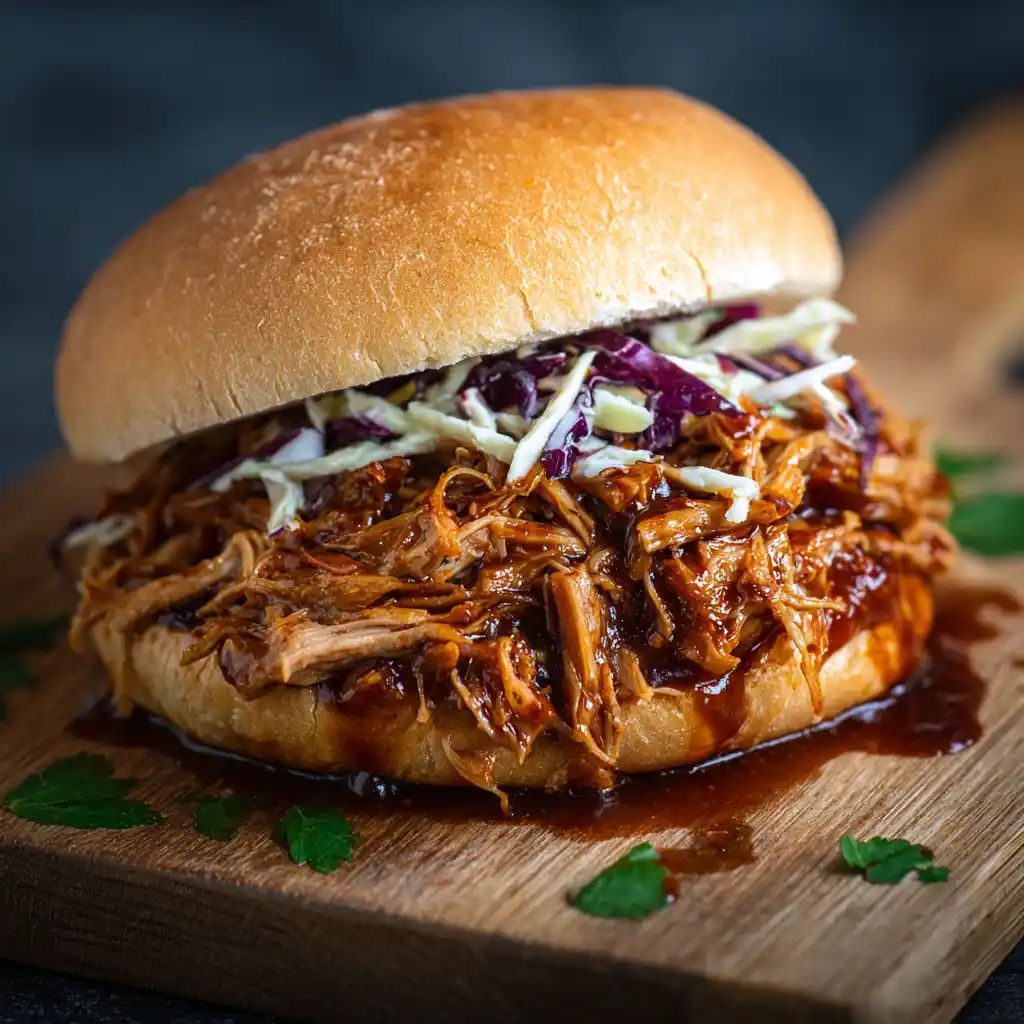
Step 6 — Assemble Sandwiches
Pile the saucy pork onto soft buns, top with shredded cabbage, and serve warm. I usually add a few pickles on mine for extra zing.

Pro Tips & Easy Swaps
- Pork shoulder works best, but pork loin can be used for a leaner option.
- Add a splash of liquid smoke if you want that backyard BBQ flavor.
- Make it spicy with chipotle powder or cayenne.
- Swap cabbage for coleslaw mix if you like creamy crunch.
- Toast the buns for sturdier sandwiches.
- Leftovers freeze beautifully — store in sauce for best results.
- Works great with chicken thighs if you want a poultry version.
- Use Hawaiian rolls for smaller, party-sized sliders.
Serving Ideas & Variations
I usually serve these sandwiches with chips or coleslaw, but they’re super versatile. Try:
- With classic potato salad.
- Over rice or mashed potatoes (my husband’s favorite).
- Inside a baked potato for a fun twist.
- On nachos as a game-day snack.
- Topped with pickled onions for tang.
- Wrapped in tortillas for quick pork tacos.
- On a salad for a lighter option.
Common Mistakes (and How to Fix Them)
- Dry pork → Use pork shoulder and don’t skimp on liquid.
- Burn notice in pressure cooker → Deglaze well after searing.
- Too sweet → Add a dash of vinegar or hot sauce to balance.
- Bland flavor → Season generously and don’t skip the sear.
- Soggy buns → Toast lightly before piling on the pork.
Frequently Asked Questions
Yes, but increase the cooking time by about 15–20 minutes. I prefer thawed pork for even cooking.
Pork shoulder (also called pork butt) is the best choice because it becomes tender and juicy under pressure.
Yes! Cook, shred, and store in the fridge for up to 4 days. Reheat with extra sauce before serving.
Absolutely. Store cooled pork with sauce in freezer bags for up to 3 months. Thaw and reheat for easy dinners.
You’ll Also Love
- Pressure Cooker Beef Stew – A hearty classic that’s just as cozy.
- If you’re hooked, check out all my Pressure Cooker Recipes for more comfort food made easy.
Pressure Cooker Pulled Pork Sandwich
Ingredients
- 3 lbs pork shoulder cut into chunks
- 1 cup BBQ sauce divided
- 1 onion sliced
- 3 garlic cloves minced
- 2 tbsp apple cider vinegar
- 1 tbsp brown sugar
- 2 tsp paprika
- 1 tsp cumin
- 1 tsp chili powder
- Salt & pepper
- ½ cup broth or water
- Buns shredded cabbage for serving
Instructions
- Season pork with spices.

- Sear in pressure cooker on sauté.
- Add onions, garlic, vinegar, broth, and half BBQ sauce.

- Cook on high pressure for 45 minutes, natural release 10.

- Shred pork, stir in more BBQ sauce.

- Serve on buns with cabbage.