Imagine the sweet aroma of freshly baked Strawberry Cookies wafting through your kitchen. After testing this recipe multiple times, I discovered the perfect balance of tartness and sweetness. Join me as I share my journey of creating these delightfully soft cookies that remind you of summer afternoons. If you’re in the mood for more berry goodness, check out my Cherry Almond Tiramisu.
About Strawberry Cookies
These Strawberry Cookies capture the essence of juicy strawberries in every bite. After experimenting with different ratios of ingredients, I honed in on a delightful blend that allows the fruit’s natural sweetness to shine through. Perfect for family gatherings or a cozy weekend treat, they’re budget-friendly and a real crowd-pleaser.
- Quick prep time makes them an ideal weeknight bake.
- Versatile enough to substitute with other fruits like blueberries or raspberries.
- A family favorite that evokes memories of warmer seasons.
- Fresh strawberries provide essential vitamins and a vibrant flavor.
Key Ingredients & Their Roles
- Strawberries: Provide natural sweetness and moisture. Fresh berries work best, but you can use frozen in a pinch—just thaw and drain excess liquid.
- Butter: Adds richness and a tender crumb. Make sure it’s softened for easy creaming.
- Brown Sugar: Enhances moisture and adds a caramel-like flavor. Feel free to substitute with coconut sugar for a lighter option.
- Flour: The base that holds everything together. For a lighter texture, consider using cake flour instead.
How to Make Strawberry Cookies
- Preheat your oven to 350°F. Prepare a baking sheet by lining it with parchment paper, ensuring easy release.
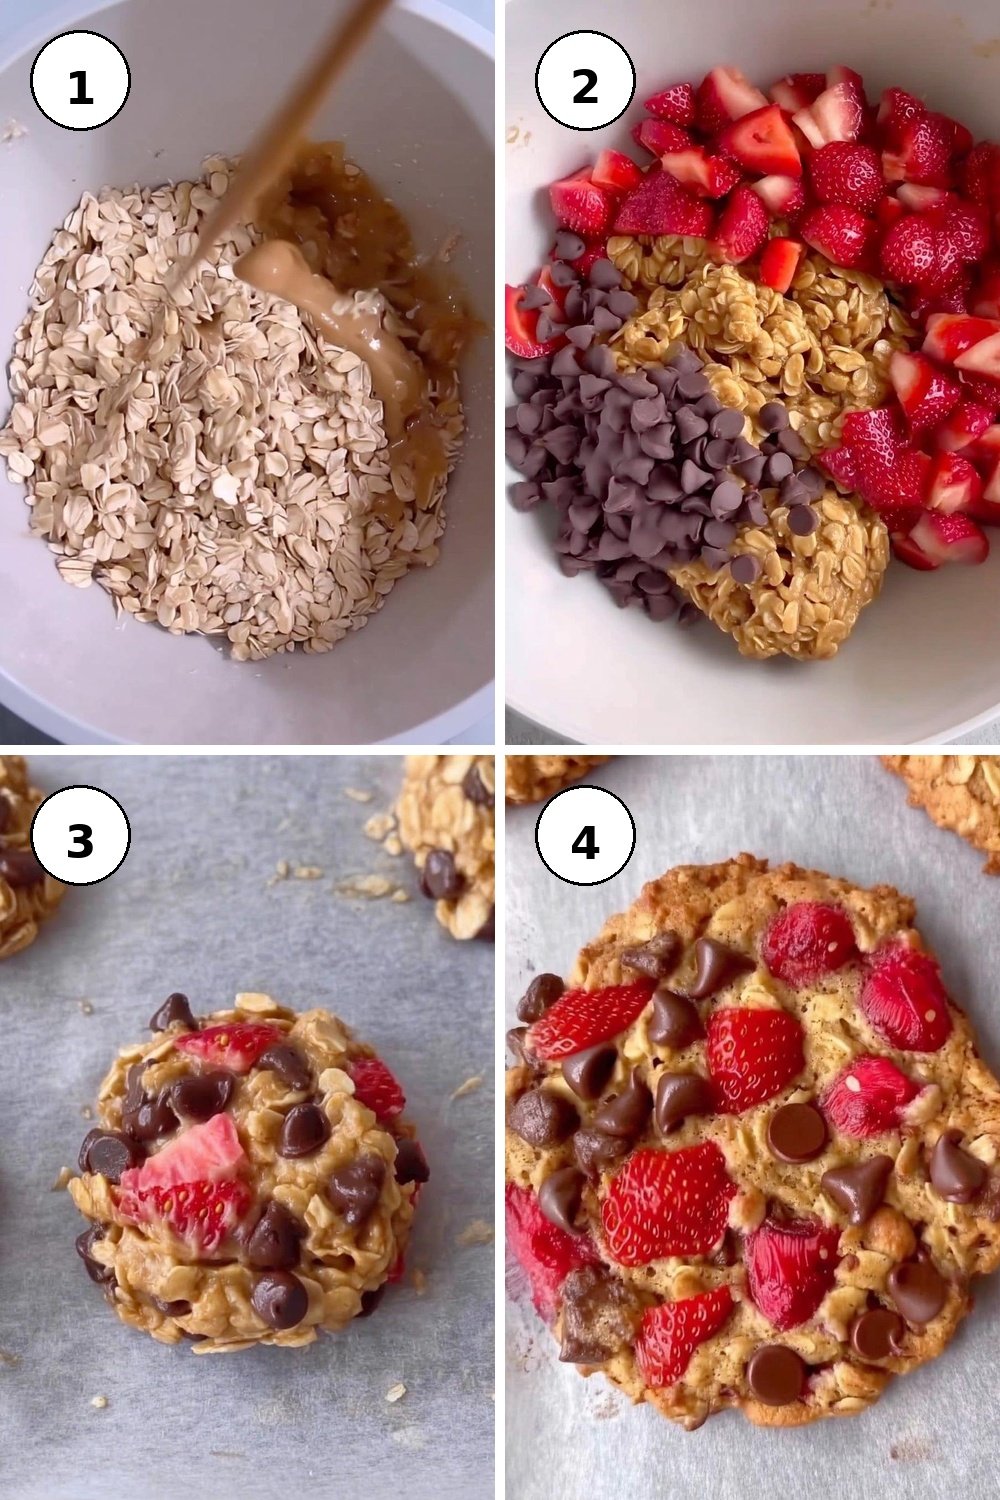
- In a large bowl, cream together softened butter and brown sugar until light and fluffy, about 3-5 minutes. The mixture should look almost whipped!
- Gently fold in chopped strawberries until evenly distributed, taking care not to overmix—aim for a delicate texture.
- Drop spoonfuls of dough onto the prepared baking sheet. Bake for 12-15 minutes, until the edges are lightly golden, and a toothpick inserted in the center comes out clean.
Pro Tips & Troubleshooting
- During prep, gently fold strawberries to avoid breaking them up too much; this keeps the cookie’s texture just right.
- A common mistake is overbaking—watch closely after the 10-minute mark for the perfect softness.
- For seasonal swaps, try adding blueberries or chopped peaches instead of strawberries for varied flavors.
Storage & Make-Ahead Guide
Store cookies in an airtight container in the fridge for up to 5 days. They freeze wonderfully, so feel free to keep them in a freezer-safe bag for up to 3 months. I found that freezing helps maintain their texture, making them taste just-baked even after weeks.
Serving Suggestions
These Strawberry Cookies are perfect with a tall glass of cold milk or a warm cup of tea. Pair with my One Pot Chicken and Rice Soup for a cozy afternoon!

Frequently Asked Questions
- Can I use frozen strawberries? Yes, just make sure they’re thawed and excess moisture is drained.
- How do I know when the cookies are done? The edges should be lightly golden, and a toothpick should come out clean.
- How do I store leftover cookies? Keep them in an airtight container in the fridge or freeze for longer storage.
- Can I make these cookies gluten-free? Absolutely, substitute with a gluten-free flour blend.
- How long do these cookies last? They can last up to 5 days at room temperature or longer if refrigerated.
Final Thoughts
These Strawberry Cookies are a delightful way to embrace the flavors of summer all year round. One of my favorite ways to enjoy them is fresh out of the oven with a scoop of vanilla ice cream. I encourage you to experiment and share your results!
More Recipes You’ll Love
- Cherry Almond Tiramisu – a delightful sweet contrast that pairs well with strawberries.
- Cranberry Bliss Bars – similar berry flavors make this a perfect companion.
- Strawberry Pop Tart Slab Pie – a fruit-forward dessert that shares the delightful strawberry theme.

Dill Pickle Bread
Ingredients
- 1/2 cup sour cream if using gluten-free flour, add 1 extra tbsp of sour cream.
- 1/2 cup vegetable oil
- 2 large eggs
- 1 tbsp granulated sugar
- 1 3/4 cups all-purpose flour can use gluten-free flour as well.
- 1 1/4 tsps baking powder
- 3/4 tsp salt
- 1 tbsp pickle juice from the jar
- 1 cup diced dill pickles
- 1 cup shredded sharp cheddar cheese divided
- 1 tbsp dried dill
Instructions
- Preheat to 350°F. Line a 9×5-inch loaf pan with parchment or lightly grease so the loaf releases cleanly.
- In a large bowl, whisk sour cream, oil, eggs, and sugar until smooth and creamy.
- Add flour, baking powder, salt, and pickle juice. Stir until just combined. A few small streaks are fine.
- Gently fold in diced dill pickles, 1/2 cup cheddar, and dried dill so the mix stays airy.
- Scrape batter into the pan and smooth the top. Bake 35-40 minutes, until golden and a toothpick in the center comes out clean.
- Remove from the oven, sprinkle the remaining 1/2 cup cheddar over the top, and switch the oven to broil.
- Return the loaf for 3-5 minutes, watching closely, until the cheese melts and browns lightly.
- Let the bread cool completely in the pan so slices hold together neatly. Slice and serve.